POI
| ||||||||||||
| Tpyo | On the map this is plural (Grotto of Horrors redirects here). |
|---|
The following Service NPCs can be found within this POI. To find your way to one, simply use World Search and enter the name, then follow the arrow.
The only other NPC here is "Navigator" Nami [Kidd's Sons]. See her quests in the Wailing Fjord quest series. |
Zone
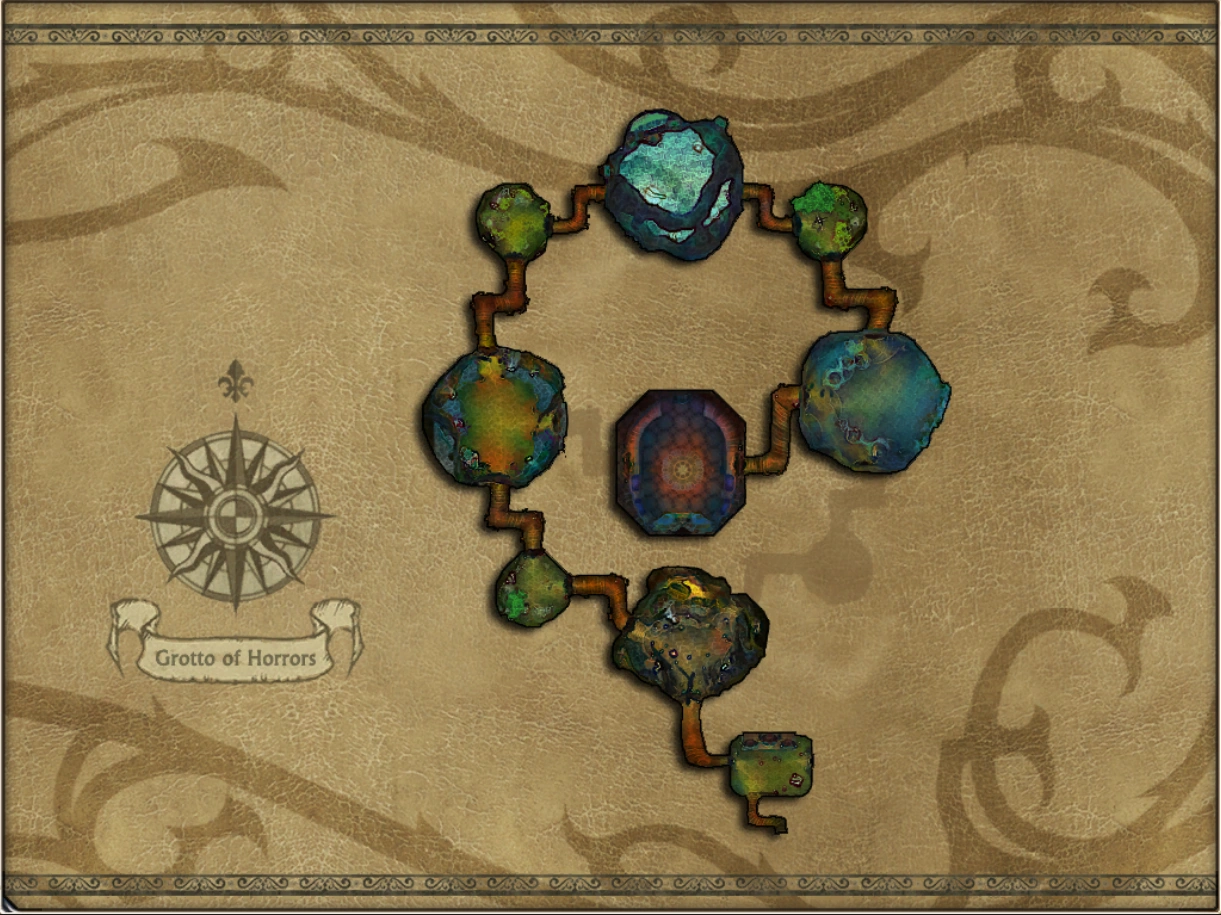 Map of Grotto of Horror |
| Zone Information | |||||
|---|---|---|---|---|---|
| Continent | Candara | ||||
| Type | Instanced Dungeon | ||||
| Expansion | |||||
| Level Range | 85+ | ||||
| Connecting Zones | Wailing Fjord | ||||
| Max Players | 6 | ||||
| Progress Saved? | No | ||||
|
|||||
Please see Instance List for a table of all Instances, by the zone they are found in, and the quests that are involved with them.
The Grotto of Horror is a level 85 instance in the Wailing Fjord. It has seven bosses, the last two of which can only be accessed in the instance's hard mode. The portal to the instance is in the center of the region and is unobstructed by elite or dangerous mobs. The Grotto of Horror plays a prominent role in the quest line for Kidd's treasure. The instance was introduced into public servers on February 18th 2014 but was not opened until a later date.
Trash


Trash mobs are level 88 Elite (BUT... as a level 91/91 Warrior/Mage they will one-shot me).
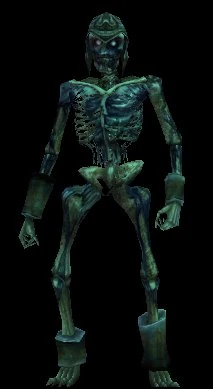
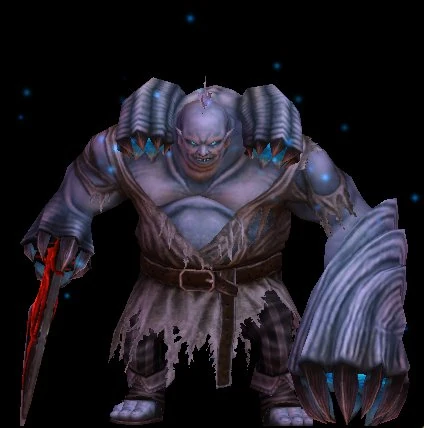
- Confused Bone Pirate - Skeleton
- Pirate Bone Guardian - Skeleton
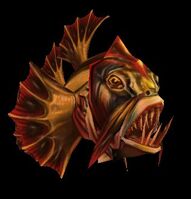
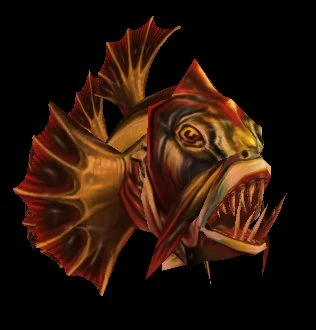
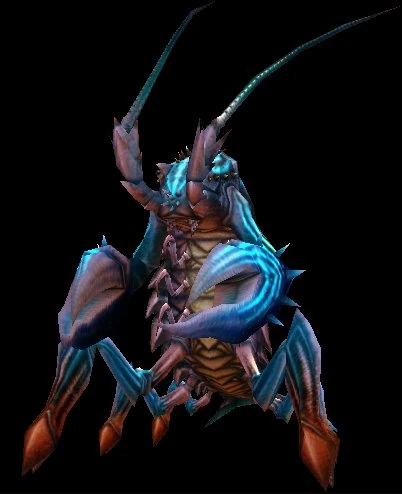
- Chopper Bloodfang - Piranha
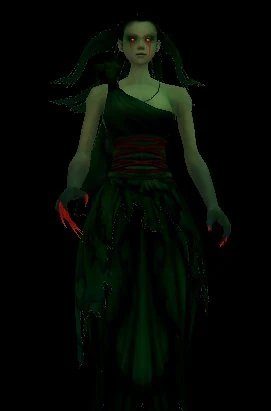
- Crying Siren - Witch
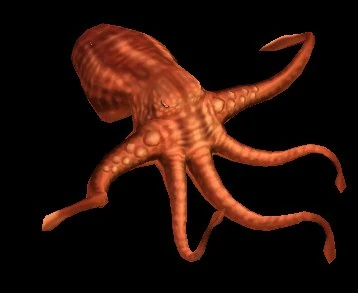
- Blaze Octopus - Octopus
Bosses
| # | Boss Name | Ancient Mementos | ||
|---|---|---|---|---|
| Easy | Normal | Hard | ||
| 1 | Aggregate of Desperation | 7 | 26 | 52 |
| 2 | Nabukos | 9 | 28 | 66 |
| 3 | Yinajo | 16 | 34 | 68 |
| 4 | Yifirus | 12 | 30 | 61 |
| 5 | Tabokake | 12 | 32 | 66 |
| 6 | Tekoli-Wussa | 71 | ||
| 7 | Pikusate | 76 | ||
| Totals | 56 | 150 | 460 | |
  |
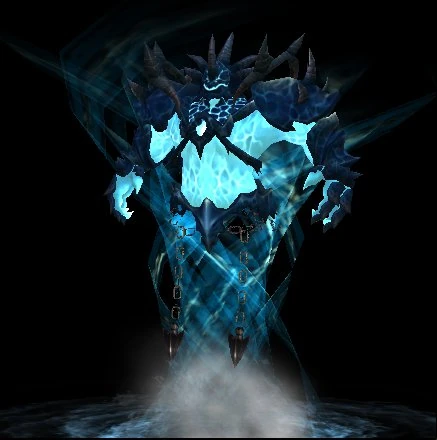
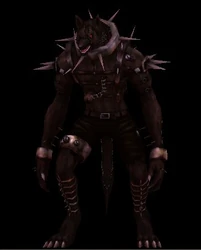
Aggregate of Desperation
Aggregate of Desperation (88 Elite)
Strategy:
A short time after the boss is engaged by the party, he will begin to cast Hate's Mission. It is strongly advised for players to use a ![]() Serenstum at this point. He will, occasionally, also transport a random player into the cage above himself. This will remove that player from the fight and they will be unable to attack the Aggregate of Desperation until they are released. Often, by the time the boss has been killed, multiple players will have been trapped in the cage.
Serenstum at this point. He will, occasionally, also transport a random player into the cage above himself. This will remove that player from the fight and they will be unable to attack the Aggregate of Desperation until they are released. Often, by the time the boss has been killed, multiple players will have been trapped in the cage.
| Difficulty | Easy | Normal | Hard |
|---|---|---|---|
| Hitpoints | 10,600,000 HP | 38,600,000 HP | 92,800,000 HP |
| 7 | 26 | 52 |
  |
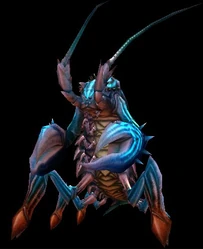
Nabukos
Nabukos (88 Elite)
Strategy:
When engaged, an attempt should be made to pull him close to the entrance of his room. He will cast a similar ability to the first boss called Salt Deflagration. When the boss casts this, the technique followed on the first boss can be applied to this boss. Nabukos will also summon Ooze mobs. The mobs attack with a ranged attack on a random player and cause a debilitating effect. The result of the effect will be reduced attack speed, casting speed and walking speed (this effect stacks, so the longer the party is fighting, the more difficult the fight becomes). This boss drops the Staff of the Ocean. A party member will need to have this in their inventory upon the death of the third boss for the fourth boss to appear.
| Difficulty | Easy | Normal | Hard |
|---|---|---|---|
| Hitpoints | 10,600,000 HP | 38,900,000 HP | 92,800,000 HP |
| 9 | 28 | 66 |
Key Drops: Staff of the Ocean
  |
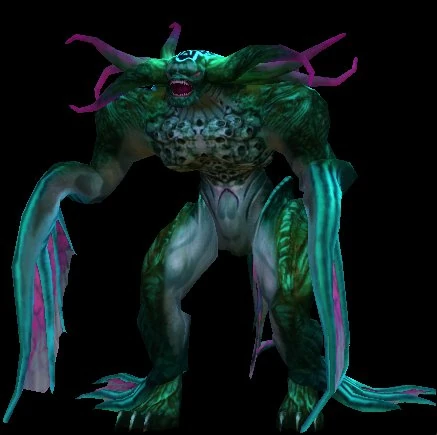
Yinajo
Yinajo (88 Elite)
Strategy:
This fight is generally the longest of all in the instance because of the defense buff Yinajo casts upon himself. During the fight, two entities (both look similar to in-game mailboxes) will appear, alongside mobs that resemble Yinajo. These entities must be interacted with by two separate players in the same moment or the boss keeps his 90% damage reduction effect. Yinajo will also cast an AE attack between attacks that hits every player still alive in the room for 90% of their health points. Due to the presence of additional mobs and the boss itself during this area attack, it is advised to have at least one healer with an instant group heal.
| Difficulty | Easy | Normal | Hard |
|---|---|---|---|
| Hitpoints | 11,000,000 HP | 39,900,000 HP | 102,300,000 HP |
| 16 | 34 | 68 |
Target for [20] Peak Hunt: Yinajo
  |
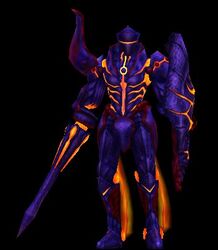
Yifirus
Yifirus (88 Elite)
Strategy:
Yifirus is the only optional boss inside the instance. He can only be fought if a player is carrying the Staff of the Ocean, dropped by Nabukos, when Yinajo is killed. The universal technique for killing Yifirus is doing so as quickly as possible. When he is engaged, his area of effect attack happens at the same rate as Yinajo's attack. However, his attack is often enough to kill a DPS player. Upon his first cast, ![]() Serenstum should be used and the boss must be killed before he casts again or the party members will begin to die.
Serenstum should be used and the boss must be killed before he casts again or the party members will begin to die.
| Difficulty | Easy | Normal | Hard |
|---|---|---|---|
| Hitpoints | 11,100,000 HP | 39,100,000 HP | 95,200,000 HP |
| 12 | 30 | 61 |
  |
Tabokake
Tabokake (88 Elite)
Strategy:
This boss is similar to the Aggregate of Desperation and only has one ability that requires ![]() Serenstum. The boss will be an average fight until he casts Stone Sling. After the boss finishes casting, he will do very high damage to every player in a straight line to his front. When he is casting this ability, each player should use a
Serenstum. The boss will be an average fight until he casts Stone Sling. After the boss finishes casting, he will do very high damage to every player in a straight line to his front. When he is casting this ability, each player should use a ![]() Serenstum regardless of their orientation to the boss to prevent complications. Apart from this ability, the boss is a simple fight.
Serenstum regardless of their orientation to the boss to prevent complications. Apart from this ability, the boss is a simple fight.
| Difficulty | Easy | Normal | Hard |
|---|---|---|---|
| Hitpoints | 10,600,000 HP | 37,200,000 HP | 54,100,000 HP |
| 12 | 32 | 66 |
In Easy and Normal modes, this is the final Boss.
  |
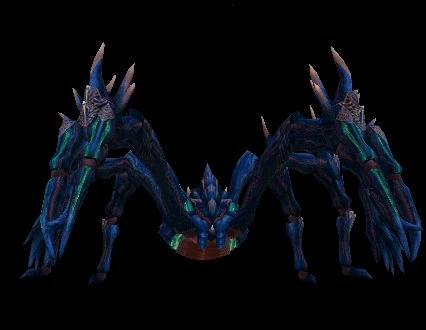
Tekoli-Wussa
Tekoli-Wussa (88 Elite)
Strategy:
Hard Mode only. When engaging Tekoli-Wussa, the party should cluster at the center of the circular platform in the middle of the room. The boss will summon orbiting pillars that will move around the circumference of the platform, and kill any player they encounter quickly. When Tekoli-Wussa falls, it is advised to forego collecting mementos and drops because the seventh boss spawns above his body after a short period of time.
| Difficulty | Easy | Normal | Hard |
|---|---|---|---|
| Hitpoints | n/a | n/a | 97,700,000 HP |
| n/a | n/a | 71 |
  |
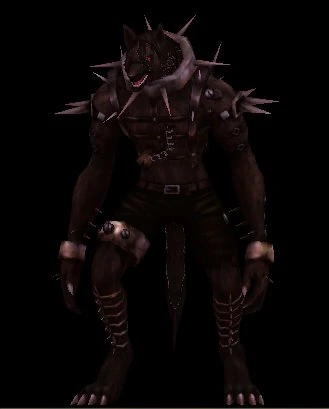
Pikusate
Pikusate (88 Elite)
Strategy:
Hard Mode only. She has a notably small aggro range and will not detect players until they are almost within melee distance. She requires no ![]() Serenstum but using it can improve one's chances of survival. The fight is simple and has no tactical requirements. When she spawns, she will do so on the location of Tekoli-Wussa, meaning that it can be dangerous to attempt to loot Tekoli-Wussa until Pikusate herself is killed.
Serenstum but using it can improve one's chances of survival. The fight is simple and has no tactical requirements. When she spawns, she will do so on the location of Tekoli-Wussa, meaning that it can be dangerous to attempt to loot Tekoli-Wussa until Pikusate herself is killed.
| Difficulty | Easy | Normal | Hard |
|---|---|---|---|
| Hitpoints | n/a | n/a | 102,600,000 HP |
| n/a | n/a | 76 |